
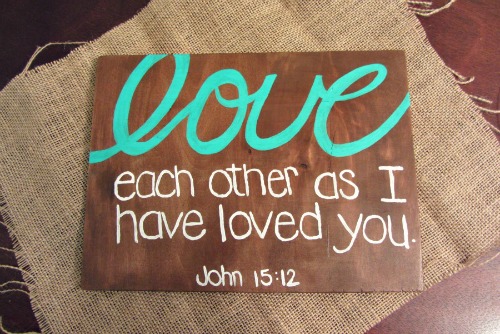
HELLO HELLO! My goodness, it's been ages since I've hung out at my blog! The last time I blogged was in December! I miss the days when I used to blog about everything I did.. I've gotten a bit lazy I guess. Well guess what?! I was feeling crafty last weekend and went browsing through my Decor board on Pinterest to see if there was anything pretty I could make. I found this pretty hand painted wooden sign that I'd pinned forever ago and decided since I had a piece of scrap wood I'd give it a try!
And here it is!
Didn't it turn out lovely?!
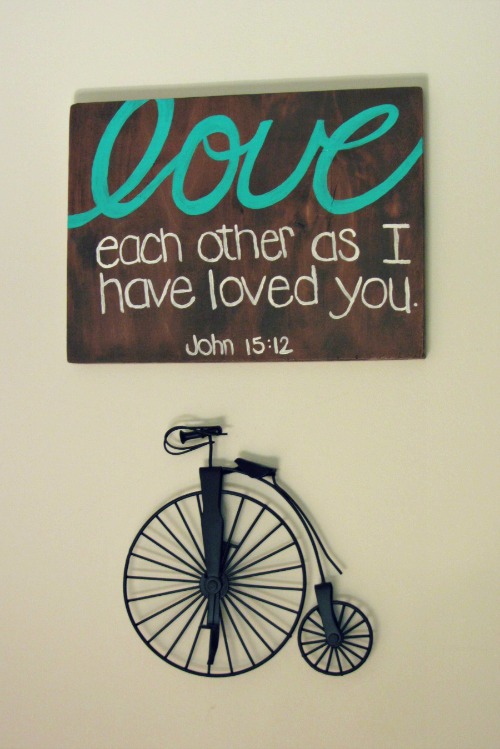
I decided to put it up on a small wall to the side of our couch, right next to the balcony doors. I was never sure about what to put in that spot, or if I should put anything there at all.. in case it looked too crowed with having my photo wall above my couch. But that's where I put it up! Along with a cutie little vintage bicycle decor piece that I got from my Grampa (I begged him for it), who got it from my mom a few years ago haha! I always wanted to put the little bicycle up somewhere but I'm just not creative when it comes to adding wall decor in an attractive way. I take waaaaay too long thinking about stuff first, and then I just get tired thinking so I forget about it!

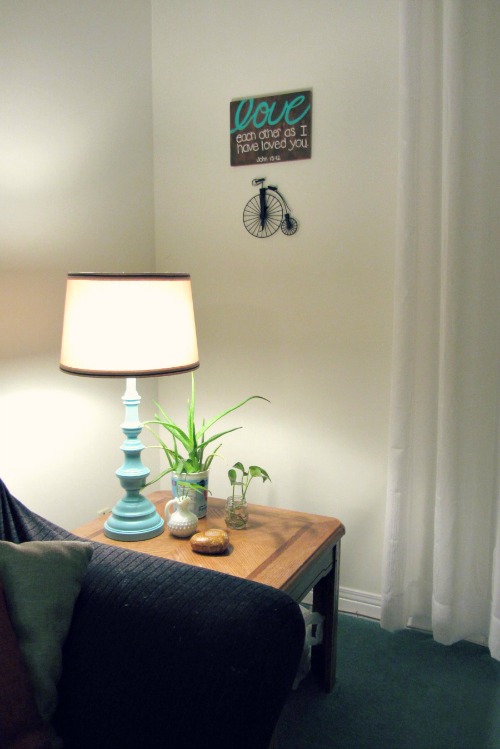

I think it looks GREAT! I'm in love with it! And I can't stop looking at it whenever I come into my living room. It makes me smile and say, "Awwwee..."
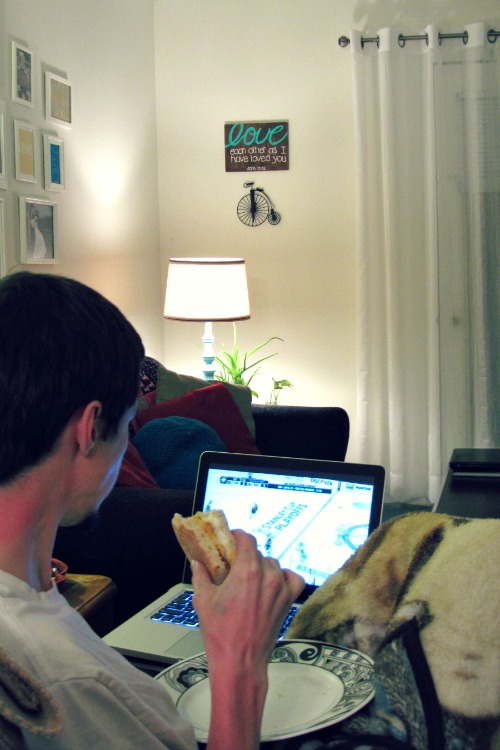
As difficult as it was to get a hold of my husband's attention while he was grossly and intensely watching his favorite hockey team play in the playoffs, I was able to get him to hang my new decorations up on commercial breaks! ...
Check out those sunburns!
Now, I didn't take any photos during the creation, because I didn't think about blogging! But it was pretty easy. First, to get the stained look, I watered down some brown acrylic craft paint with water and covered the board a couple of times till it was a shade I liked. When dry, I began on the words. I drew my words on a piece of paper while looking at the pinned inspiration photo for a guide. I did "Love" first and when I had it all drawn up how I wanted it, I took a piece of chalk and rubbed the back of the paper all over where the word was. Then I gently placed the paper where I wanted it on the piece of wood, with the chalked side facing down onto the wood. Taking a pen, I traced over the letters. When I lifted the paper off, the word was drawn onto the wood with the chalk!! Super easy for transferring! So then I just filled it all in with craft paint! (I'm in love with that color these days!) And I just repeated that same process with the rest of the words on the sign. The rest was a little tougher for me though, because I can't seem to write nicely.. After that was all finished and dried I covered the whole board with a clear varathane finish. That's it!
Feels nice to share something on my blog again! : )

No comments:
Post a Comment